How to Decorate a Christmas Tree (Step-by-Step) — Week 1 of My Christmas Decorating Series

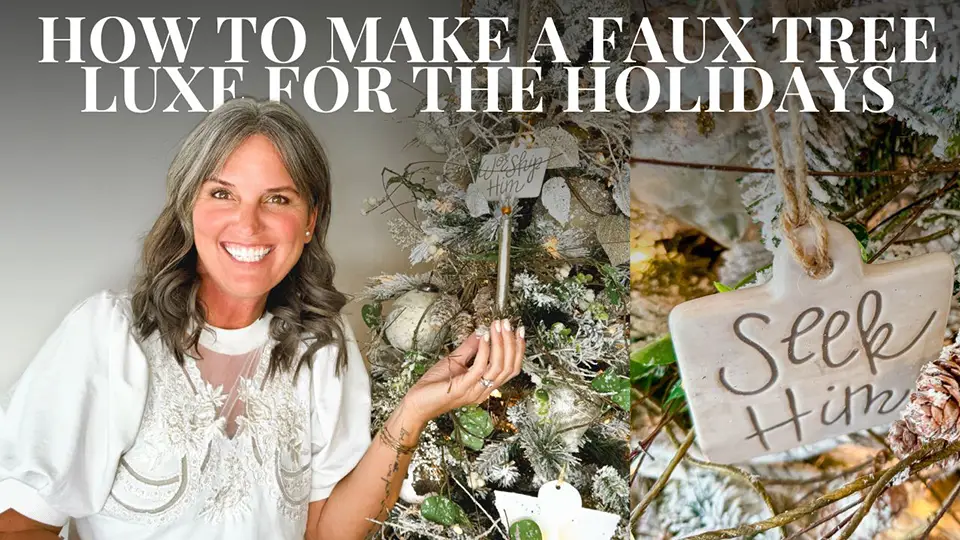
Getting started with Christmas this year where the magic begins—the tree. I’m walking you through my exact, designer-friendly process for building a tree that feels elegant, layered, and totally you. We’ll talk fluffing, garlands, stems, ornaments, toppers, and a couple of “real life” fixes you’ll love (including how we stabilized the tree and raised the height without buying a new one). Grab your cozy drink and come decorate with me!

Watch the full video for the live tutorial + all the styling moments: https://www.youtube.com/watch?v=gQOQsw6poY0

The Game Plan: Build a Luxe Base First

A beautiful tree is 80% foundation. Before any ornaments go on, we:

  • Assemble & secure the stand (tight matters—future you will thank you).
  • Fluff in sections from bottom to top so branches look full from every angle.
  • Pull the tree away from the wall to fluff the back—then slide it into place.

Pro tip: If your faux tree looks “see-through,” tuck basic greenery garlands deep inside to disguise the pole and metal arms. It instantly feels fuller and more natural.

Garlands, Then Stems (The Designer Layers)

This is the secret to that high-end look.

  • Garlands: Evenly space snowy whites, soft greens, pinecones, beads, or ribbon so the eye flows top to bottom.
  • Stems/Picks: Add sparkle and movement with glitter leaves, frosted berries, or airy branches. Hook the stem near the trunk and bend into place—no wire needed.

(In the video, I show exactly how far to space each layer and when to stop so it doesn’t get crowded.)

Ornaments: Mix, Cluster, Balance

Time for the showpieces.

  • Work in families (glass, velvet, metallic, natural) and spread them out for texture balance.
  • Cluster in 3s (one reflective, one matte, one whimsical) to create mini vignettes across the tree.
  • Use wire hooks for security; tuck ribbon-hung pieces a bit deeper on a branch for dimension.

Topper & Finishing Touches

A star, angel, or big bow brings the story home. Step back, take a quick phone pic, and adjust any bare spots you only notice on camera (it’s wild how helpful that is!).

Real-Life Fixes We Used (and You Might Need)

  • Stability: A little fishing line + wall eye-hook = peace of mind if you have pets/kids (or a mischievous cat like ours).
  • Height: We built a low platform under the skirt to lift the tree—total transformation without buying a taller one.

(See both solutions in action in the video!)

Quick Checklist

  • Tree & stand
  • Extension cord + step stool
  • Garlands (greenery, ribbon, beads)
  • Stems/picks (glitter leaves, berries, pinecones)
  • Ornaments (mix of finishes/sizes) + wire hooks
  • Topper, tree skirt, optional platform
  • Fishing line + wall eye-hook (for stability)

Why We Celebrate

At the end of the video, I share a short devotional from John 3:16 and talk about the hope behind the season. If you need a little heart-lift while you decorate, that part is for you. ❤️

Watch Next & Say Hi

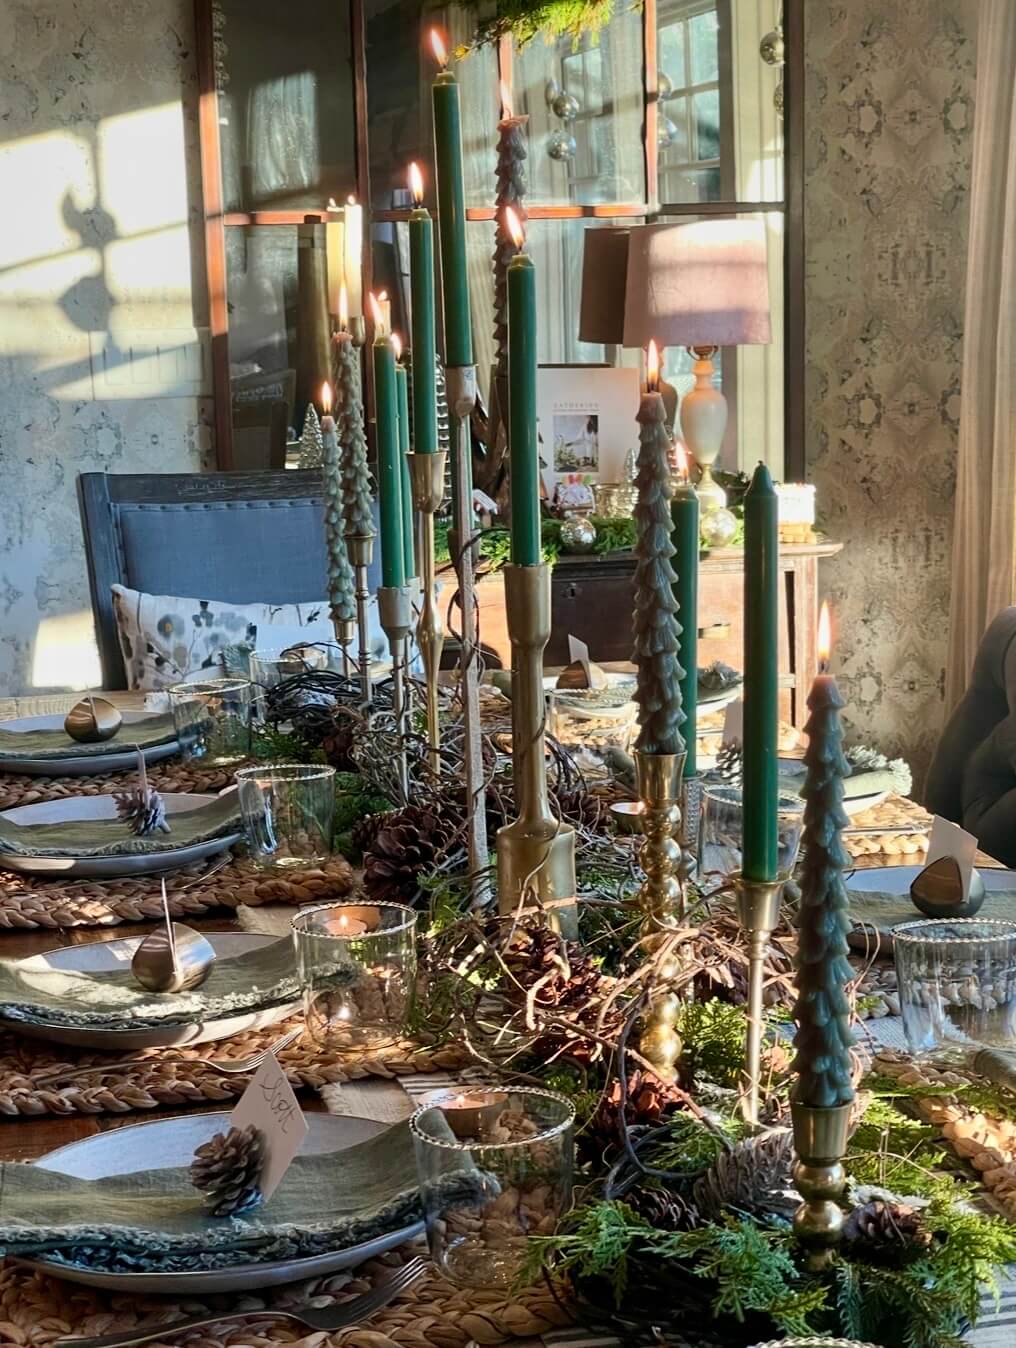
This is Week 1 of my four-week Christmas Decorating Series. Next up: more cozy corners, tables, and all the holiday layers.

Watch the full tree tutorial now: https://www.youtube.com/watch?v=gQOQsw6poY0
Tell me in the comments: Do you do real, faux—or both? And how many trees live at your house? 🎄

Share:

Facebook
Twitter
Pinterest
LinkedIn

Leave a Reply

Your email address will not be published. Required fields are marked *